#1: Use the highest quality (nice way of saying the most expensive) ingredients you can afford.
If you have a Whole Foods Market or something similar, it's a good idea to start there for the main ingredients. But use your common sense! If you're making an orange pound cake, buy the best (most flavorful and aromatic) oranges you can find. You can probably skimp on things like sugar and baking powder. No need for organic baking powder, for goodness sake.
#2: Always use the BEST vanilla you can afford. I'm reaffirming the above tip.
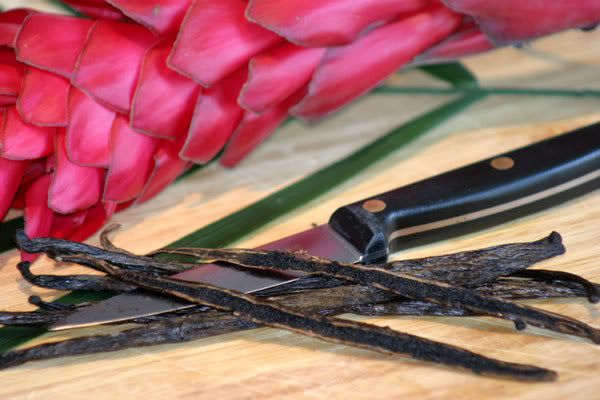
Most all baked goods call for vanilla. For this reason it will always be in your arsenal and all bakers have a favorite vanilla product. Some bakers even make their own. Getting the best vanilla you can find and afford will make a great difference in your final product. A tip to choose between a few extracts is to look on the ingredients list. Whichever extract has the least amount of alcohol is probably the best vanilla. If you can manage vanilla beans-- those are wonderful. But they are pricey! I only use them for super special occasions and add one in to compliment the vanilla extract. I usually use Watkins vanilla extract, but I live in a small town and that's the best product available to me. Do an internet search and you'll find Mexican vanilla, Tahitian vanilla, Madagascar vanilla, cold pressed vanilla, powdered vanilla, vanilla paste, the list goes on. All have different properties, if you want to go vanilla wild-- experiment. I would love to hear your results.
#3: Always use King Author flour, if you can get it. Again, reaffirming #1, see how important it is?
It is fabulous, glorious and otherwise magical. I think they use crushed faeries in each bag. I have no idea how it makes my cakes and brownies rise so high! Maybe it has something to do with the higher amount of protein. I don't care to much for the science of it, maybe yall can enlighten me. Either way, know that King Author is the only way to go, for all your baking needs. This is what a bag of King Author's All Purpose flour looks like.
#4: Get at least 1 good chef's knife.
You'll need it for cutting stuff like chocolate, fruits, nuts and the tips of your fingers. Actually, you should already have one. If you don't, shame on you!
#5: Start stocking your pantry.
This way, when you want to bake some cookies you don't have to go to the store. Shopping makes baking a chore; like making dinner. When you grocery shop, pick up an extra bottle of vanilla, some ginger, flour, chocolate chips, nuts or some interesting extract. I usually replace the things I used up last, add to what I use the most often and pick up something new to play with. This can be a gorgeous fresh fruit, a bag of nuts, or a bag of dark chocolate. By replacing nonperishables when you don't need them, they'll be there waiting for you when you do. By picking up new interesting things as they strike your fancy instead of going to the store and looking for them, you bypass the pressure of "finding something to work with."
#6: Always take out your butter and preheat your oven first.
For most recipes you have to have room temperature butter for creaming. Before you start preparing the rest of your ingredients (see #7), get your butter out and cut it into cubes so it will warm up. You can put it on top of your oven that you will preheat. Nothing sucks more than getting ready to go and having cold butter and a cold oven. Don't cut corners and microwave your butter. It never works. If you forget to do all of the above, you will have to wait on the butter to warm, and the oven to heat.
If you forget, I'm telling Chef Ramsey.
#7: Measure out ingredients before you start.
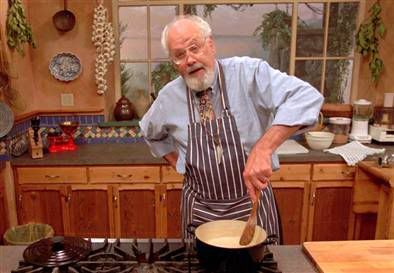
You know when you watch the Food Network and they have little glass bowls of ingredients already measured? I know it seems silly and like it would make a huge mess. It does create more dishes, but it is certainly not silly. It ultimately makes the whole process much quicker. It keeps you from over beating your batter when your measuring, uh, searching for ingredients. It also keeps your kitchen orderly and the baking process is more organized. Get thee to the Dollar Store and buy small bowls! Pretend your the Frugal Gourmet (does anyone remember him?) and you're on your own cooking show!
#8: Read the entire recipe before opening your pantry, turning on your oven, or cracking an egg.
If you are caramelizing sugar for Christmas candy and find yourself throwing cereal on the floor of your pantry searching for food coloring, you're in trouble. If you had read the recipe before the sugar became the most dangerous food substance known to man, you would know that you needed to add food coloring at the hard crack stage, right before you put the sugar in the ice bath, and you would have had it ready. You wouldn't be in danger of harming yourself or your poodle. Do your family a favor. So you aren't screaming through the house for assistant ingredient finders and bowl stirrers, read your recipe through, completely, a few times before you start the process. You can then organize your workspace accordingly.
#9: SHIFT your flour before using it in your recipe.
Exactly as it sounds, folks. I do this because the flour settles in the bag and becomes packed. Ok, truthfully, I do this because the King Author flour cookbook told me to and I found out it makes a huge difference. The brilliant minds at King Author flour found out that if you measure the flour straight into your mixer, you're adding too much. We're supposed to sift it and then measure the prescribed amount. You will find that it ends up being less flour than you thought. You don't want a dry, floury cake, do you? No. I know it's an extra step-- do it, trust me on this. The next post will be more detailed instructions on this step.
#10: When creaming butter and sugar, add the sugar slowly, one tablespoon at a time.
Cream the butter on it's own until its whipped, and then stream in the sugar. Allow each tablespoon to be mixed in before adding the next one. The reason for this step is to create air bubbles in the batter. You are creating the base of your project in this step. We want it fluffy, so take your time! At the end of the process, your butter and sugar should be pale yellow, fluffy, puffy and you should want to eat it. Oh look! Here's a video:
She doesn't cube her butter OR go as slow as I'd like... but it gives you a good idea of the process. Note the bowl scraping, that's important too.
Tuesday, March 4, 2008
Stuff I've learned since I started...
Posted by Mary Jean at 1:56 PM
Subscribe to:
Post Comments (Atom)

0 comments:
Post a Comment