In Italy, a limoncello is served as a digestive in a very small glass, straight up. It is ultra strong (think Everclear/Deisel/180 proof) and ultra sweet (imagine 6-8 cups sugar syrup per 750 ml). Sometimes it is served in the variation of Creme Limoncello (Limoncello with Cream). I prefer not too sweet drinks so I have cut the sugar down considerably, and used regular vodka. Ever since a bad night with Jello shots when I was 19, Everclear scares the Bejesus out of me. Everclear or not, here is Limoncello a la Mary Jean.
Ingredients
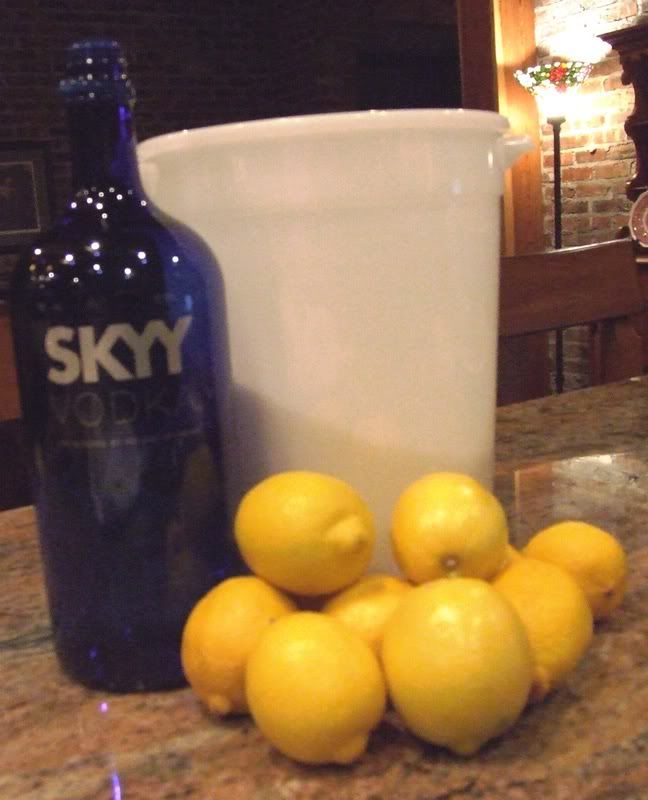
10 lemons (cream of the crop)
1 liter of 80 proof vodka
3 1/2 cups water
2 cups sugar
Tools
2-3 liter infusion jar
vegetable peeler and paring knife or microplane zester
med-large pot
funnel
decorative, food grade bottles to serve Limoncello
Limoncello! I must admit, if this recipe works, I will be amazed. It was SO easy I hardly believe that it could work. I've wanted to make Limoncello for years. I always hesitated because I thought it would be a pain. I was SOOOO wrong! You should make Limoncello now!
For the geeks like me, a Wiki link about the history and cultural significance of Limoncello in Italy.
You need good lemons for this. If you didn't read my first post about quality ingredients, you should. Because my Meyer lemon tree isn't producing yet, I was stuck with grocery store lemons. But they are California lemons, so I feel confident about them.
The first thing I did was wash the lemons. If you don't go organic, most fruit will be covered in a vegetable wax. This wax will hinder a good, complete infusion. Get your water good and warm, soak your lemons for about 5-8 minutes and then scrub them with a soft brush. I made sure to dry the lemons well.
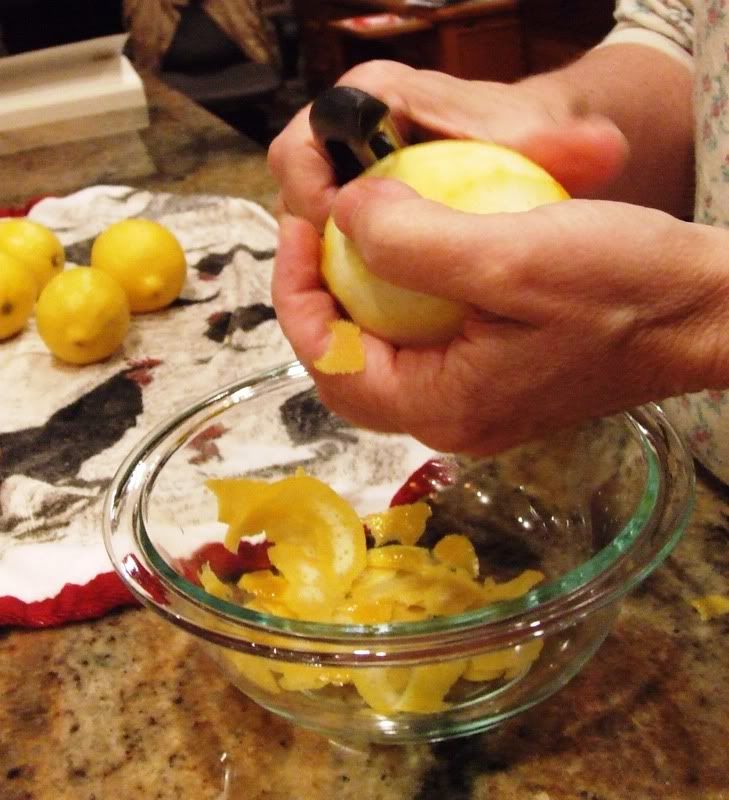
Then comes the peeling/zesting of the lemons. Regarding preparing the infusion, there was some contention about peeling vs. zesting in the forums, so I decided to do both.
My mother (ironically, the most temperate of us all) volunteered to peel lemons. Thanks mom! She's always up for culinary adventure! Notice the spots of white on the lemon peels (zest)? That's called pith. After we finished peeling we had to go through an scrape that off with a paring knife. Make sure you don't have any pith in your Limoncello, it's bitter and will impart that flavor into your infusion.
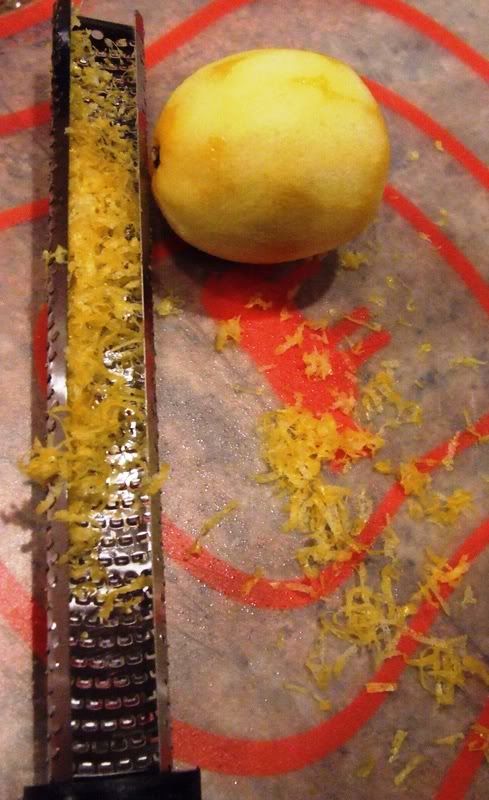
I chose to use my brand new fabulous microplane zester. I have been dying to use it on something other than Parmesan since I bought it. In fact, I will admit, I kind of wanted to make Limoncello because it would give me an excuse to zest a pile of lemons with my cool new zesting toy. I am SUCH a kitchen freak.
Surprise, surprise! The zester wins. Look at that luscious pile of pith-free zest, and I didn't even have to work for it. This zester is a revelation compared to those horrid, pokey, scrape-my-knuckles zesters. My god, you should really get one of these.
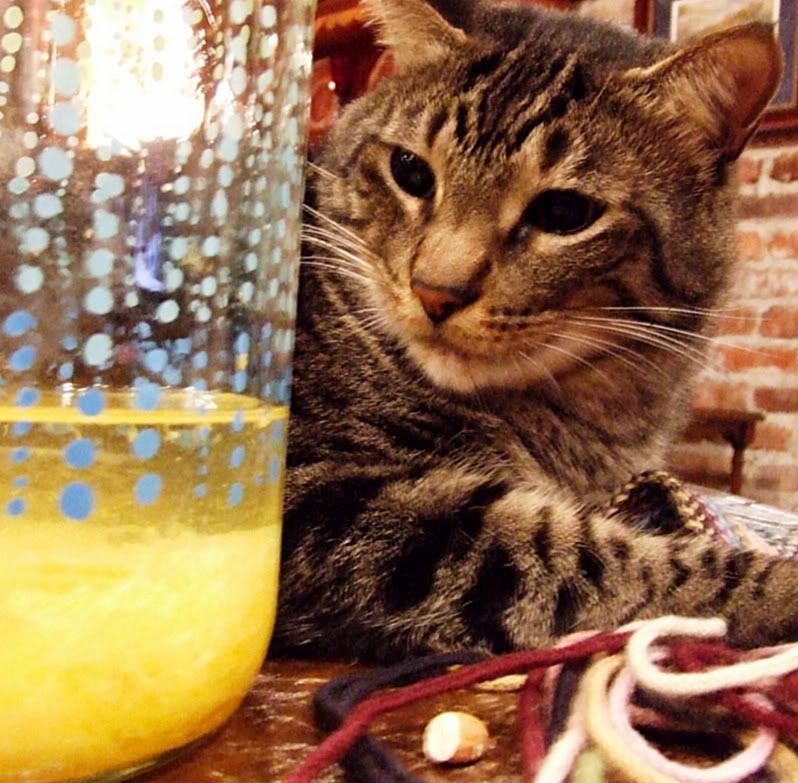
Anyway, now that the microplane commercial is over, we can pour the 1 liter of vodka in the infusion jar and pitch in our lemon peels. Felix already wants some.
Down kitty! You have to wait at least 5 weeks!
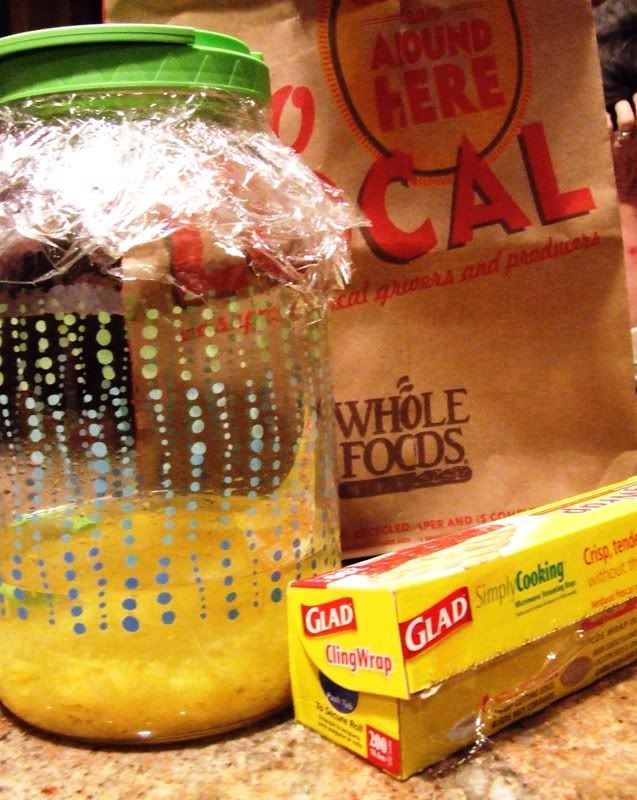
Next, I stretched 2 layers of saran wrap over the mouth of the jar and put it in a paper bag. If you have some rubber bands or a hair band, wrap them tightly around the neck of the jar to hold the saran wrap.
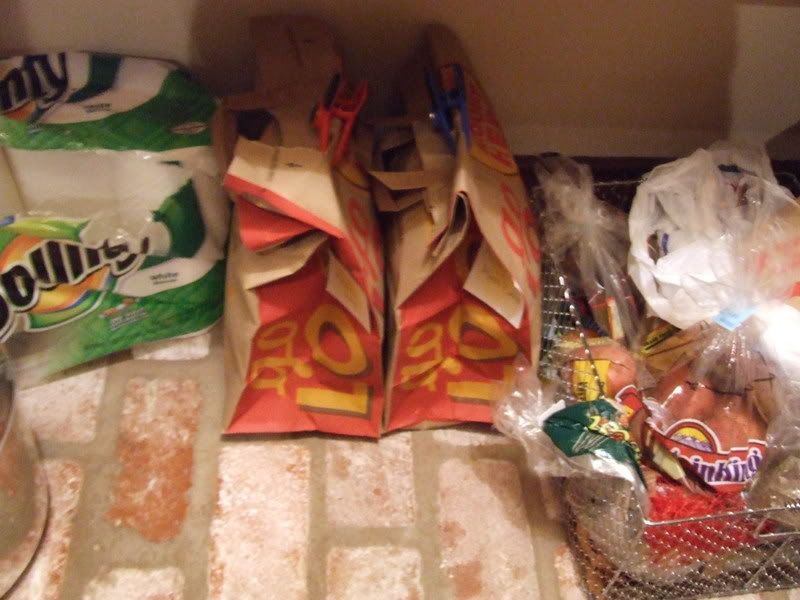
It was then relegated to the bottom of my pantry... but not before I kissed it goodnight.
See the sticky note with the date written on it pasted to the side of the bag? At 3 weeks I will add the simple syrup. Note to the thinkers out there: I know what you're thinking! Letting it set longer will not make it better. When you let it set longer you run the risk of pickling your lemons. Unless you want vodka pickled lemons, I wouldn't infuse the vodka for any longer than 8-9 weeks. It may be a good idea to agitate the mixture every few days or so to loosen the oils. I think I'll do that.
6 WEEKS LATER.....
Here's the update folks. At 6 weeks we're supposed to add the Simple Sugar. Because I am a horrible procrastinator, I didn't add the sweetener until 7 weeks and because I'm a horrible blogger, I forgot to take pictures.
Arg.
Here's the quick and dirty. It's actually very simple. HA! Pun intended. Get it? Simple sugar? Ok, sorry, bad joke.
Put your water (3.5 cups) in a pot and warm it till you see small bubbles. Don't let it boil.
Then add your sugar (2 cups) to the water. Stir continually until the sugars dissolve completely. COMPLETELY! Remove the syrup from the heat and allow it to cool completely.
Then add it to your Limoncello. That's it! Wrap the limoncello back up in the bag and hide it away for another week or two.
Ok, now I have a biggie confession. I didn't take pictures of the straining. I broke into the limoncello in an impromptu celebration. I swear I had a good excuse!!
But here are some other pics/explanations to give you an idea of the process. I will update the post with better pics when I do this again. Yes I will be making limoncello again. It is AWESOME!
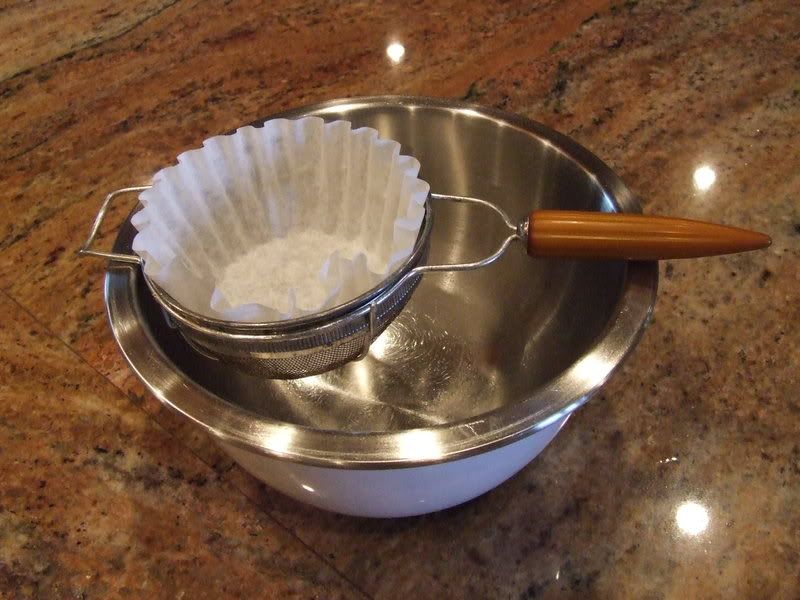
After the limoncello has aged 2 more weeks, after the addition of the sugar syrup, pour the limoncello into a big bowl. Then take out another big bowl, a strainer and some coffee filters.
First pour the limoncello through a regular strainer. This will remove the big bits. Discard them. Then run the limoncello through coffee filters that are placed in your strainers over your bowls. This will remove the bit-lets. You can have two of the strainers going at once if you need to. I did. I goes quicker with two. The strainer situation looks something like this:
While straining the limoncello, you will want to check and change the coffee filter occasionally. It can get clogged with bits of zest and slow down the straining process.
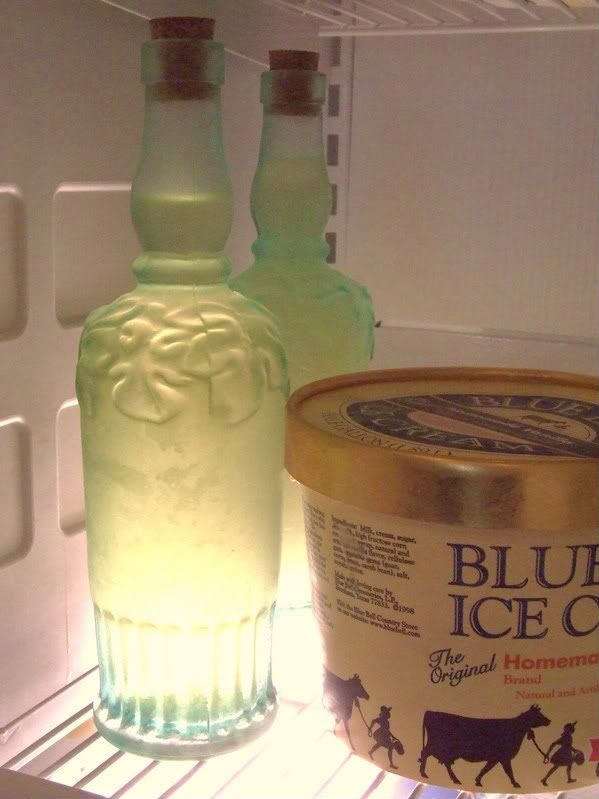
After the limoncello has been strained, you can pour it in bottles to store in the freezer, like so:
After your Limoncello is FREEZING cold (being in the freezer overnight should be perfect) you are ready for a refreshing, springy, lemony, cocktail. Yum. They are wonderful. If you like lemon drop martinis, margaritas, or anything citrus-y you are gonna love this stuff.
I want to keep it simple and allow the Limoncello to shine with this recipe.
Spring Fling
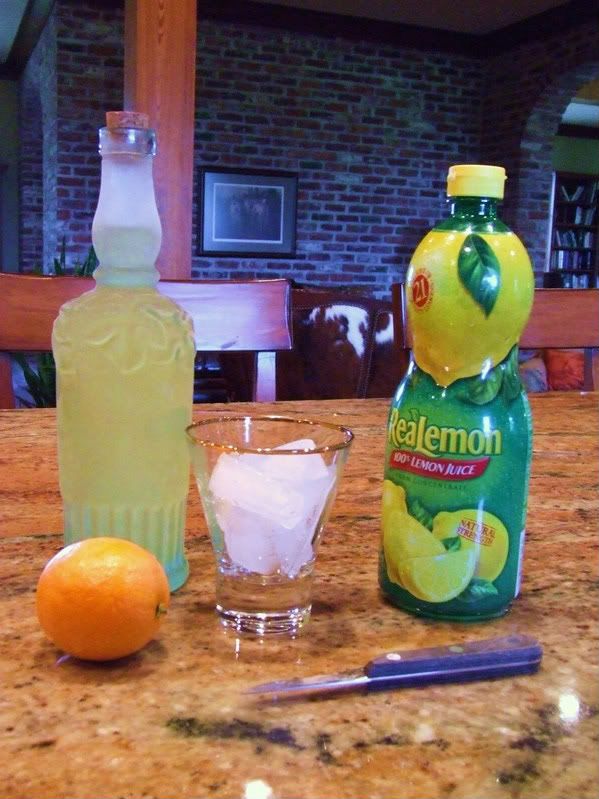
Ingredients 1 navel orange 2-3 dashes of Lemon juice Limoncello (cold!) Tools 1 kitchen knife Cocktail glass (small) Muscles like She-Ra (for juicing the orange)
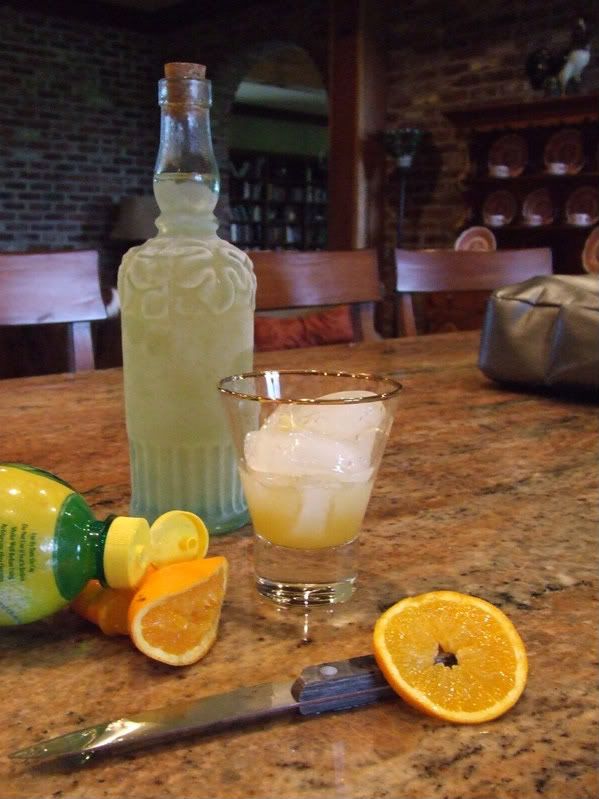
First, cut your navel orange and squeeze the juice into your ice filled glass. She-Ra muscles aren't really necessary. I just like to pretend I'm She-Ra when I'm doing manual labor type stuff, and yes, in my world, juicing an orange counts as laborious.
It's okay if chunky bits of the orange fall in the glass. They make it better and give you vitamins!
Then add in your dashes of lemon juice. I like the pre-squeezed lemon juice for this because the super tartness of it contrasts nicely with the sweetness of the orange juice and the limoncello. But if you want to use fresh, be my guest.
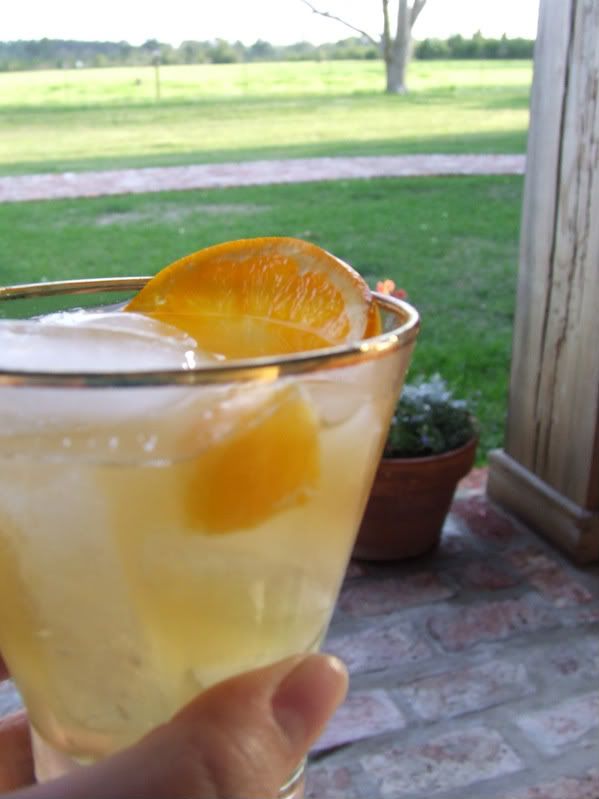
Stir your cocktail, find a bright, springy spot, and sip your afternoon away with your friends, a good book, your dog or your kitty.
How do I rate this recipe? Awesome.
Will I make it again? I've already started a new batch.
What would I change?
It is a bit sweet, even before mixing it in a drink. Next time I might lower the syrup content to 1.5 cups of sugar. If you are sensitive to sugar/sweetness you might consider doing the same.
Because of the high amount of water, the lemony flavor and alcohol is diluted quite a bit. Mixing it in a drink dilutes it even more. I will consider either lowering the water, upping the alcohol proof, or doing both. If you want a stronger more concentrated beverage, use more lemons and higher proof liquor (Everclear would be good). Or you could use more lemons and still use 80 proof vodka.
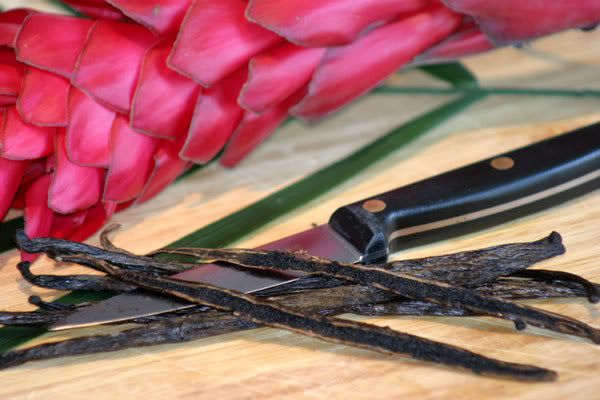
I will also consider throwing in a lengthwise split vanilla bean, just for fun. I think it will add a depth of flavor to this infusion that will be interesting.
This recipe still needs perfecting... but it is the most lovely, cleanest, most spingy-est beverage I have yet to enjoy.
If you are making it, take my suggestions and make it to your taste. But please, do make it.
If you do, let me know how it goes!
